Are you embarking on the exciting journey of constructing a new abode or revamping your bathroom? One of the most luxurious and stylish additions you can make is investing in a top - notch freestanding tub. Contrary to what you might think, getting this elegant fixture installed in your bathroom isn't as daunting as it seems. In fact, with the right guidance, you can take on this project yourself.
Understanding the Basics of Freestanding Tub Installation
While many freestanding tub vendors might suggest enlisting the services of professionals, the installation process is quite straightforward for the DIY - inclined homeowner. All you really need is the determination to do it yourself, a clear understanding of the steps involved, and the right materials at your disposal. Once you've got these elements in place, you'll be well on your way to enjoying a beautiful freestanding tub in your bathroom.
The Necessary Materials
Before you dive into the installation process, it's essential to gather all the necessary materials. Here's what you'll need:
Level: To ensure that your tub is perfectly balanced and doesn't wobble.
Blanket: This will protect the tub from scratches and damage during handling.
Bathtub: Of course, the star of the show.
Cleaning Items: To keep the work area and the tub clean.
Caulk: Used to seal the tub to the floor.
Plumber’s Putty: Helps create a watertight seal.
Damp Cloth: For cleaning surfaces.
Choosing the Right Tub
Functional vs. Decorative
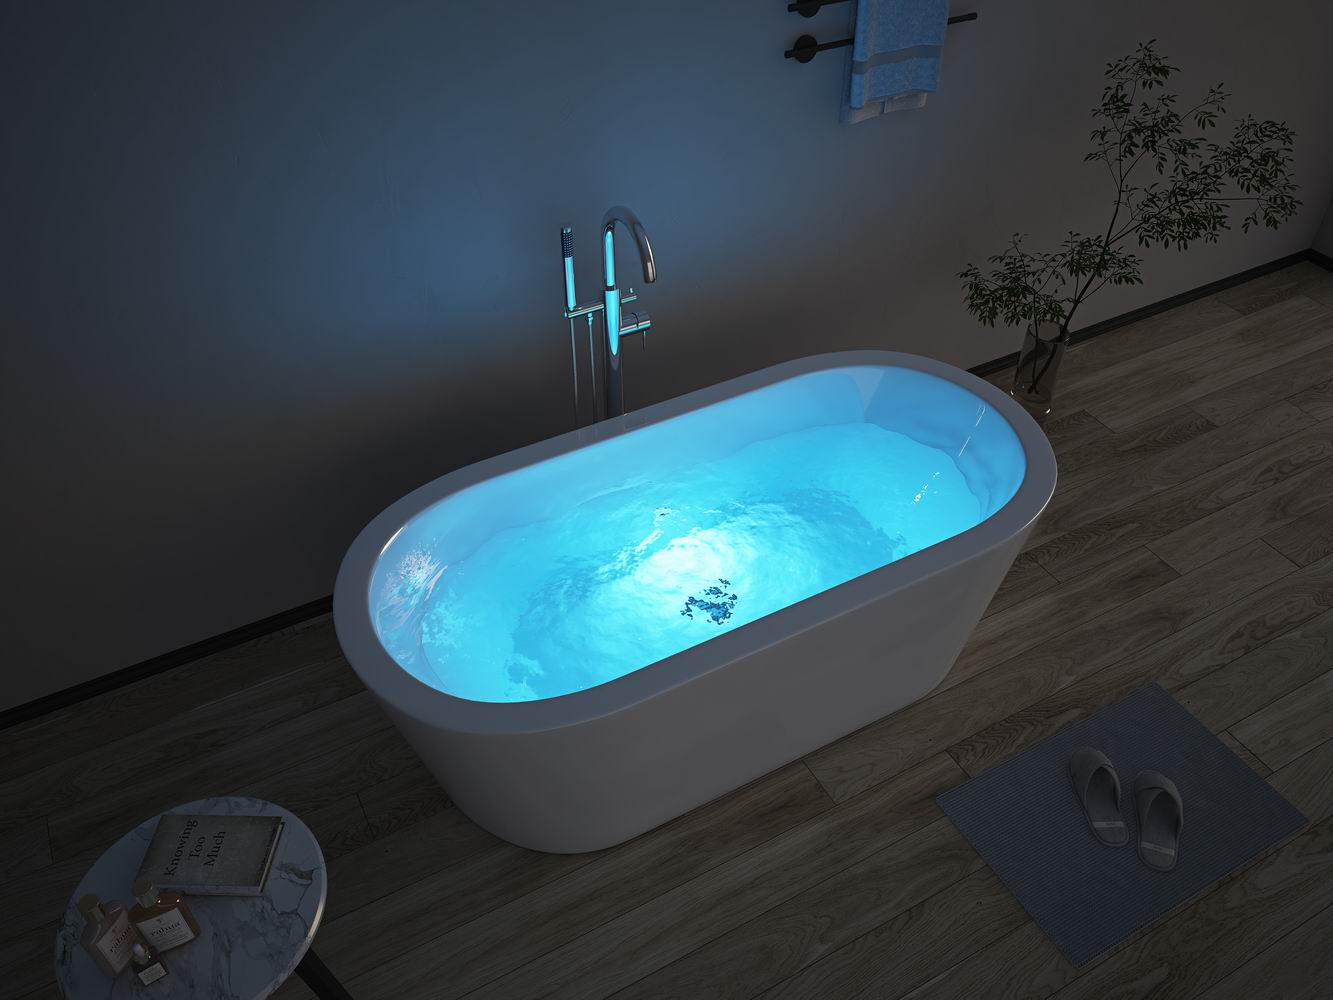
The ideal freestanding tub should be a harmonious blend of functionality and aesthetics. It should not only look stunning, adding a touch of luxury and style to your bathroom, but also serve its primary purpose as a bathtub. If you're not well - versed in the world of freestanding tubs, it's advisable to do some research. Visit bathtub showrooms to see and feel the products firsthand. After all, your bathroom is a place where you'll spend a significant amount of time, so it's worth investing in the best.
Tub Compatibility with Bathroom Space
Freestanding tubs come in a plethora of shapes, sizes, and materials. You can find them made from stainless steel, cast iron, stone, acrylic, and copper. Acrylic tubs, for example, are less impact - resistant but offer a sleek and elegant appearance with a shiny finish. The style of the tub, whether it's the classic claw - foot style or the modern cocoon - like shape, should be chosen based on the available space in your bathroom.
Measure your bathroom space meticulously before purchasing a freestanding bathtub. If you're building a new bathroom, ensure that the design provides ample room. Also, take into account the bathroom's lighting, plumbing, and window finishes before installation.
The Importance of Floor Type
The levelness of the bathroom floor is a crucial factor. Most bathroom floors may not be perfectly level for a freestanding tub installation. You may need to do some work to level the floor, as installing a freestanding tub on an uneven surface is a recipe for disaster.

The 7 - Step Installation Process
Step 1: Select the Ideal Location
The first step is to decide where in the bathroom you want to place your freestanding tub. You could opt for a corner, the center, or near a window. However, keep in mind the proximity to the existing plumbing. If any pipe remodeling is required, it's best to hire a professional plumber.
Step 2: Pick the Perfect Tub
With a wide variety of freestanding bathtubs available in the market, choose one that fits your bathroom size, is visually appealing, and built to last. Consider factors like the material, style, and capacity of the tub.
Step 3: Prepare the Floor
Ensure that the floor is in optimal condition. If there's no existing drain, you'll need to create one. If the sub - floor is made of wood, measure the size of the tub and mark the area on the floor. Cut a hole for the drain and plumbing trap. For a concrete floor, create a channel for the drain and trap. Don't forget to cover the drain hole to prevent dirt and debris from getting in.
Step 4: Position the Freestanding Bathtub
Check that the drain kit of the freestanding tub includes a drain nut. Align the waste location of the bathtub with the drain hole on the floor. Place the tub on its side on a blanket, using cardboard for support if needed.
Step 5: Clean the Drain Hole
Before installing the tub, make sure the drain hole is clean. Remove any dirt or debris using a damp cloth, and let it dry. Then, pour some dry silicone in and around the drain hole.
Step 6: Assemble the Drain Tail Piece
Place a plastic bushing on the drain tail piece and attach it to the bottom of the freestanding tub. Slide in the nuts and tighten them into the tub's drain. Adding some lubrication to the drain's rubber seal can make the process easier.
Step 7: Install the Freestanding Bathtub
Guide the tub into its final position. Use caulk to seal the tub at its contact points with the floor. Wipe off any excess caulk with a damp cloth.
Maintenance Tips for Your Freestanding Bathtub
Now that you've successfully installed your freestanding tub, it's important to keep it in good condition. Here are some maintenance tips:
Regularly check the drain for hair clogs and use a small stick to remove them.
Use a mild cleaning compound to polish the surface and get rid of light scratches.
Create a bleach solution (1 part bleach to 10 parts water) to remove stains. Apply it to the tub's surface and let it sit for 10 minutes.
For tougher stains and scratches, use fine sandpaper. After sanding, wash the tub with water to remove dirt and dust.
Use 800 - grit sandpaper to sand the surface, dry it, and then polish it for a smooth finish.
Rubbing the tub with alcohol can remove oil, ink, paint, and grease stains.
If there are signs of rust or greasy substances in the water, it may indicate a problem with the water heater. Clean the water heater and then the tub.
Always follow the manufacturer's instructions for installation and maintenance.
In summary, a freestanding tub can transform your bathroom into a luxurious retreat. By following the steps outlined in this guide, you can easily install it yourself. With proper maintenance, your freestanding tub will serve you well for many years, enhancing both the beauty and functionality of your bathroom.


